
How to Register as a Vendor on Lapses.in (Step-by-Step Guide)
Are you looking to expand your business and reach thousands of new customers online? Joining Lapses.in as a seller is quick, simple, and takes just a few minutes!
Follow this straightforward step-by-step tutorial to register your vendor account and set up your online store today. 🛍️✨
🚀 Step 1: Navigate to Registration & Fill Your Details
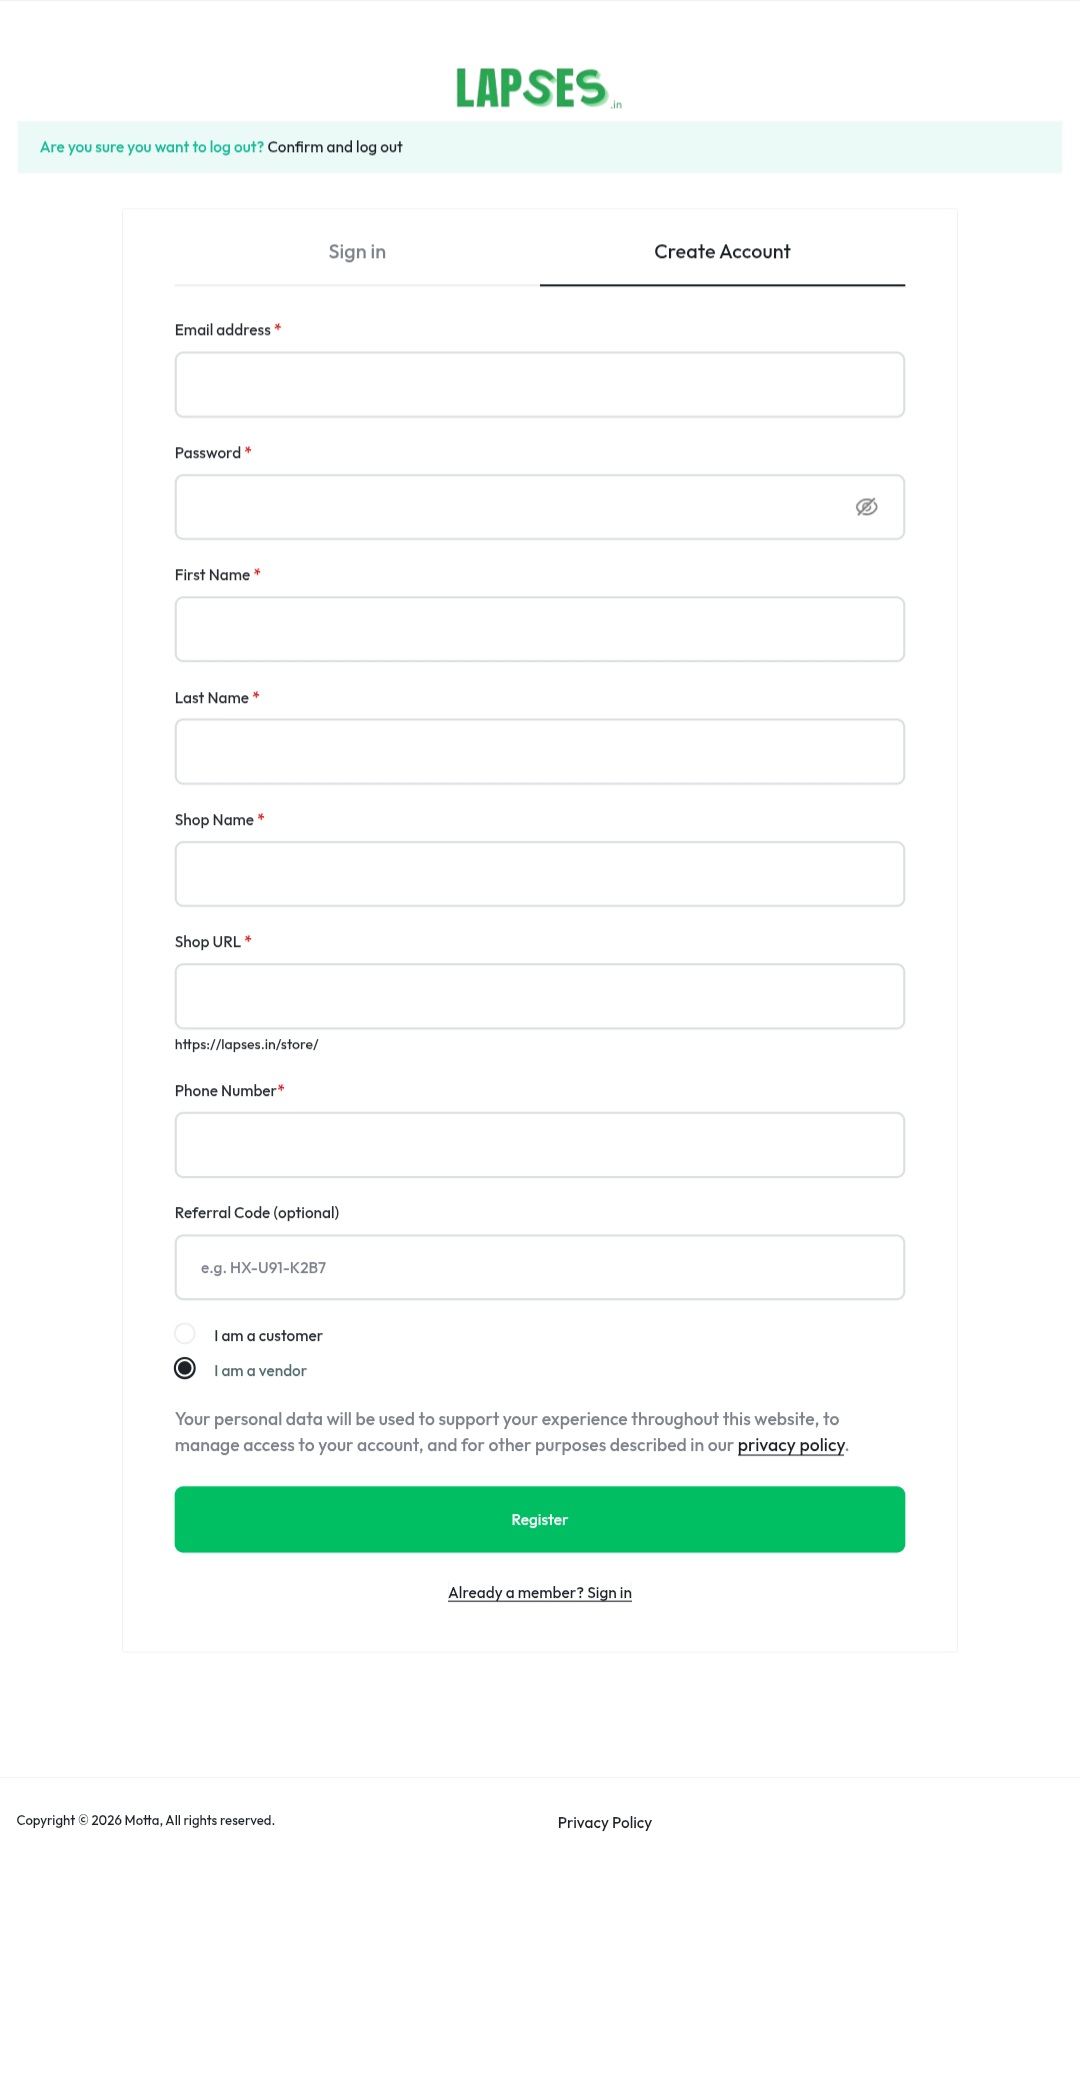
Head over to the registration page at lapses.in/my-account/ and click on the Create Account tab.
• 📧 Email Address: Enter your primary business or personal email address.
• 🔒 Password: Create a strong, secure password.
• 👤 Name: Fill in your First Name and Last Name.
• 🏪 Shop Name: Enter the public name of your store.
• 🔗 Shop URL: The system auto-generates a unique shop web link based on your shop name (e.g., lapses.in/store/your-shop-name).
• 📞 Phone Number: Add your active contact number.
• 🎟️ Referral Code (Optional): Enter a code if you were invited by an existing seller.
• 🔘 Account Type: Select “I am a vendor” .
Once all fields are complete, click the green Register button!
👋 Step 2: Welcome to the Marketplace Setup Wizard
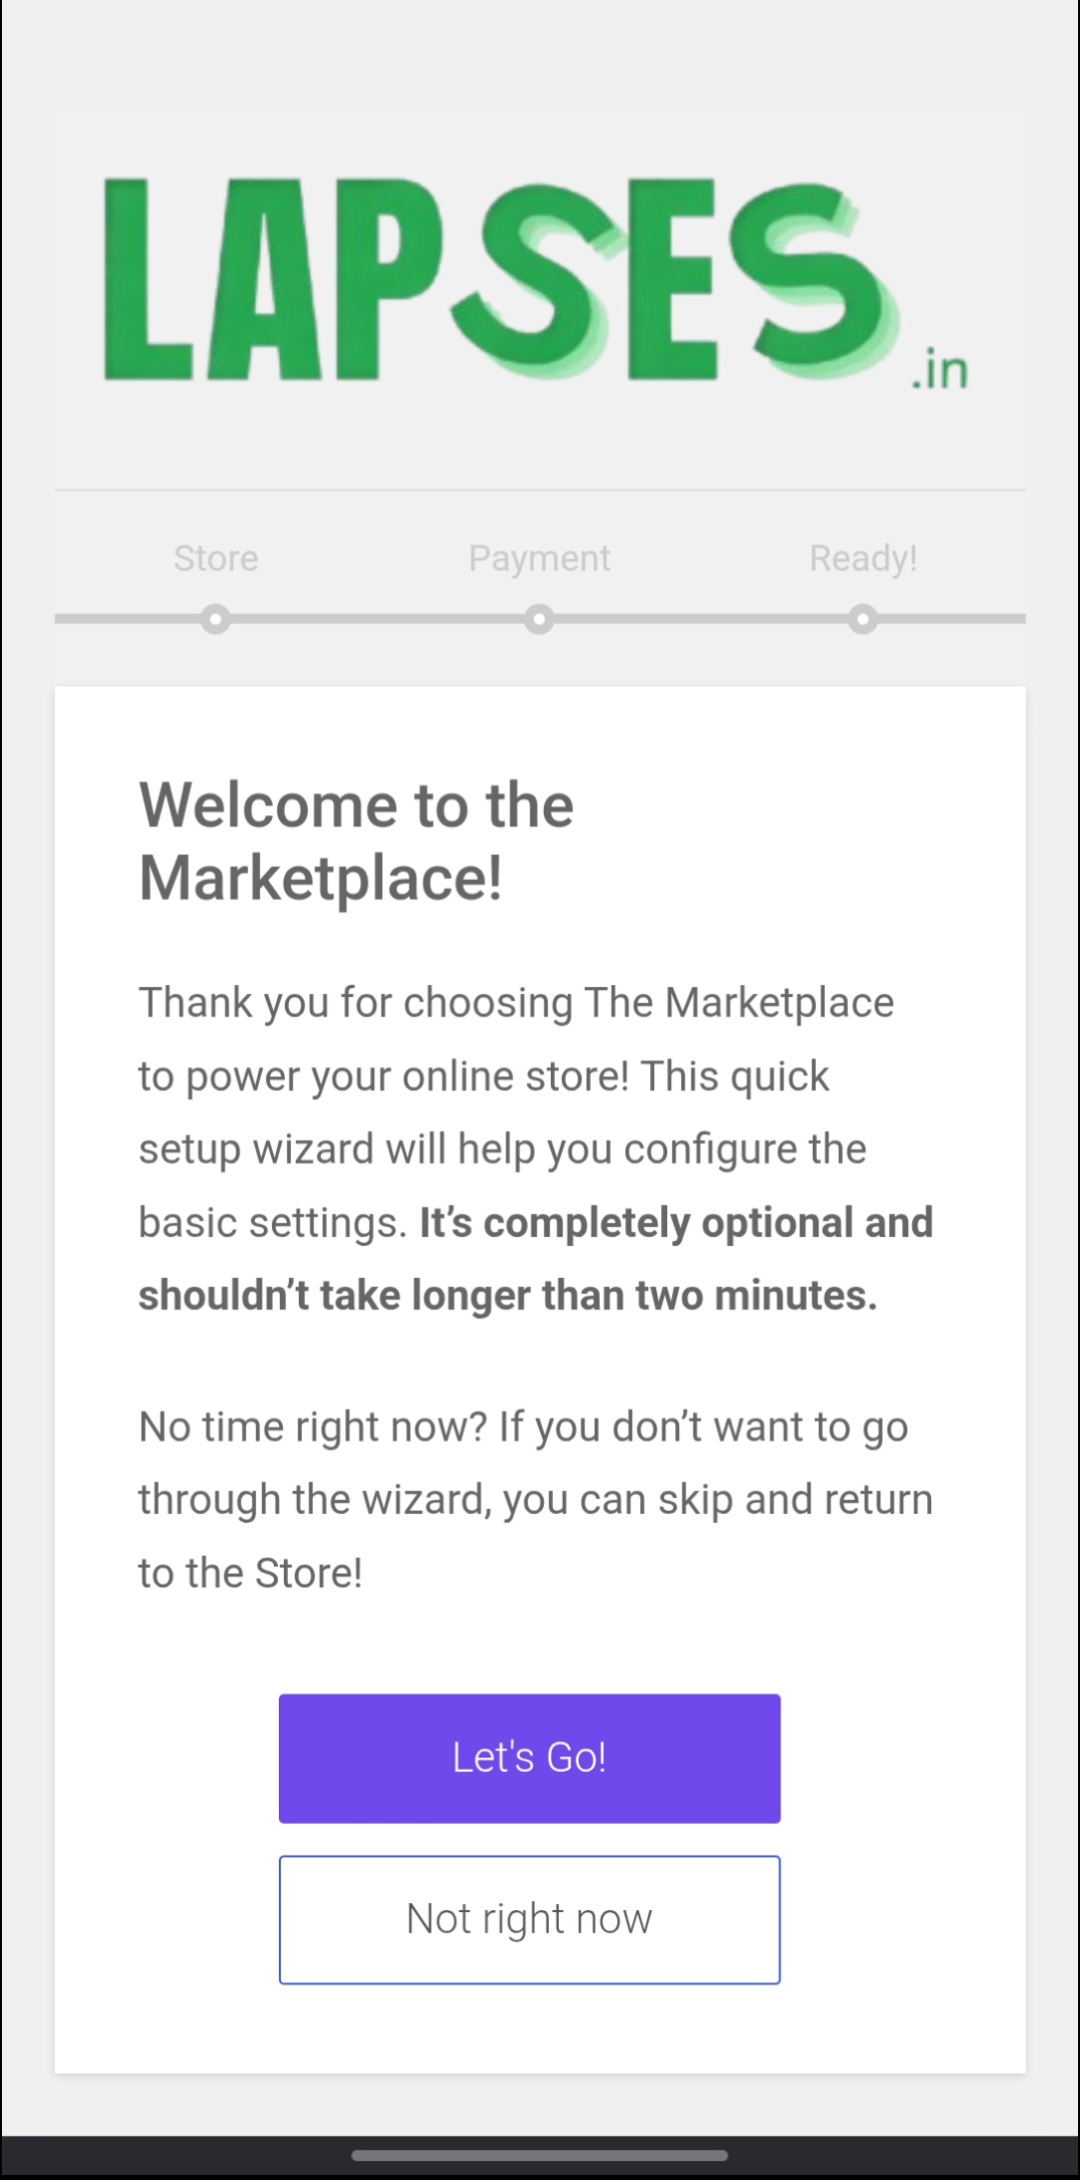
After clicking register, you’ll automatically be redirected to the Marketplace Quick Setup Wizard.
This wizard helps you configure your basic store details in under two minutes. Click the Let’s Go! button to begin, or choose Not right now if you prefer to complete setup later from your dashboard.
📍 Step 3: Enter Your Store Details
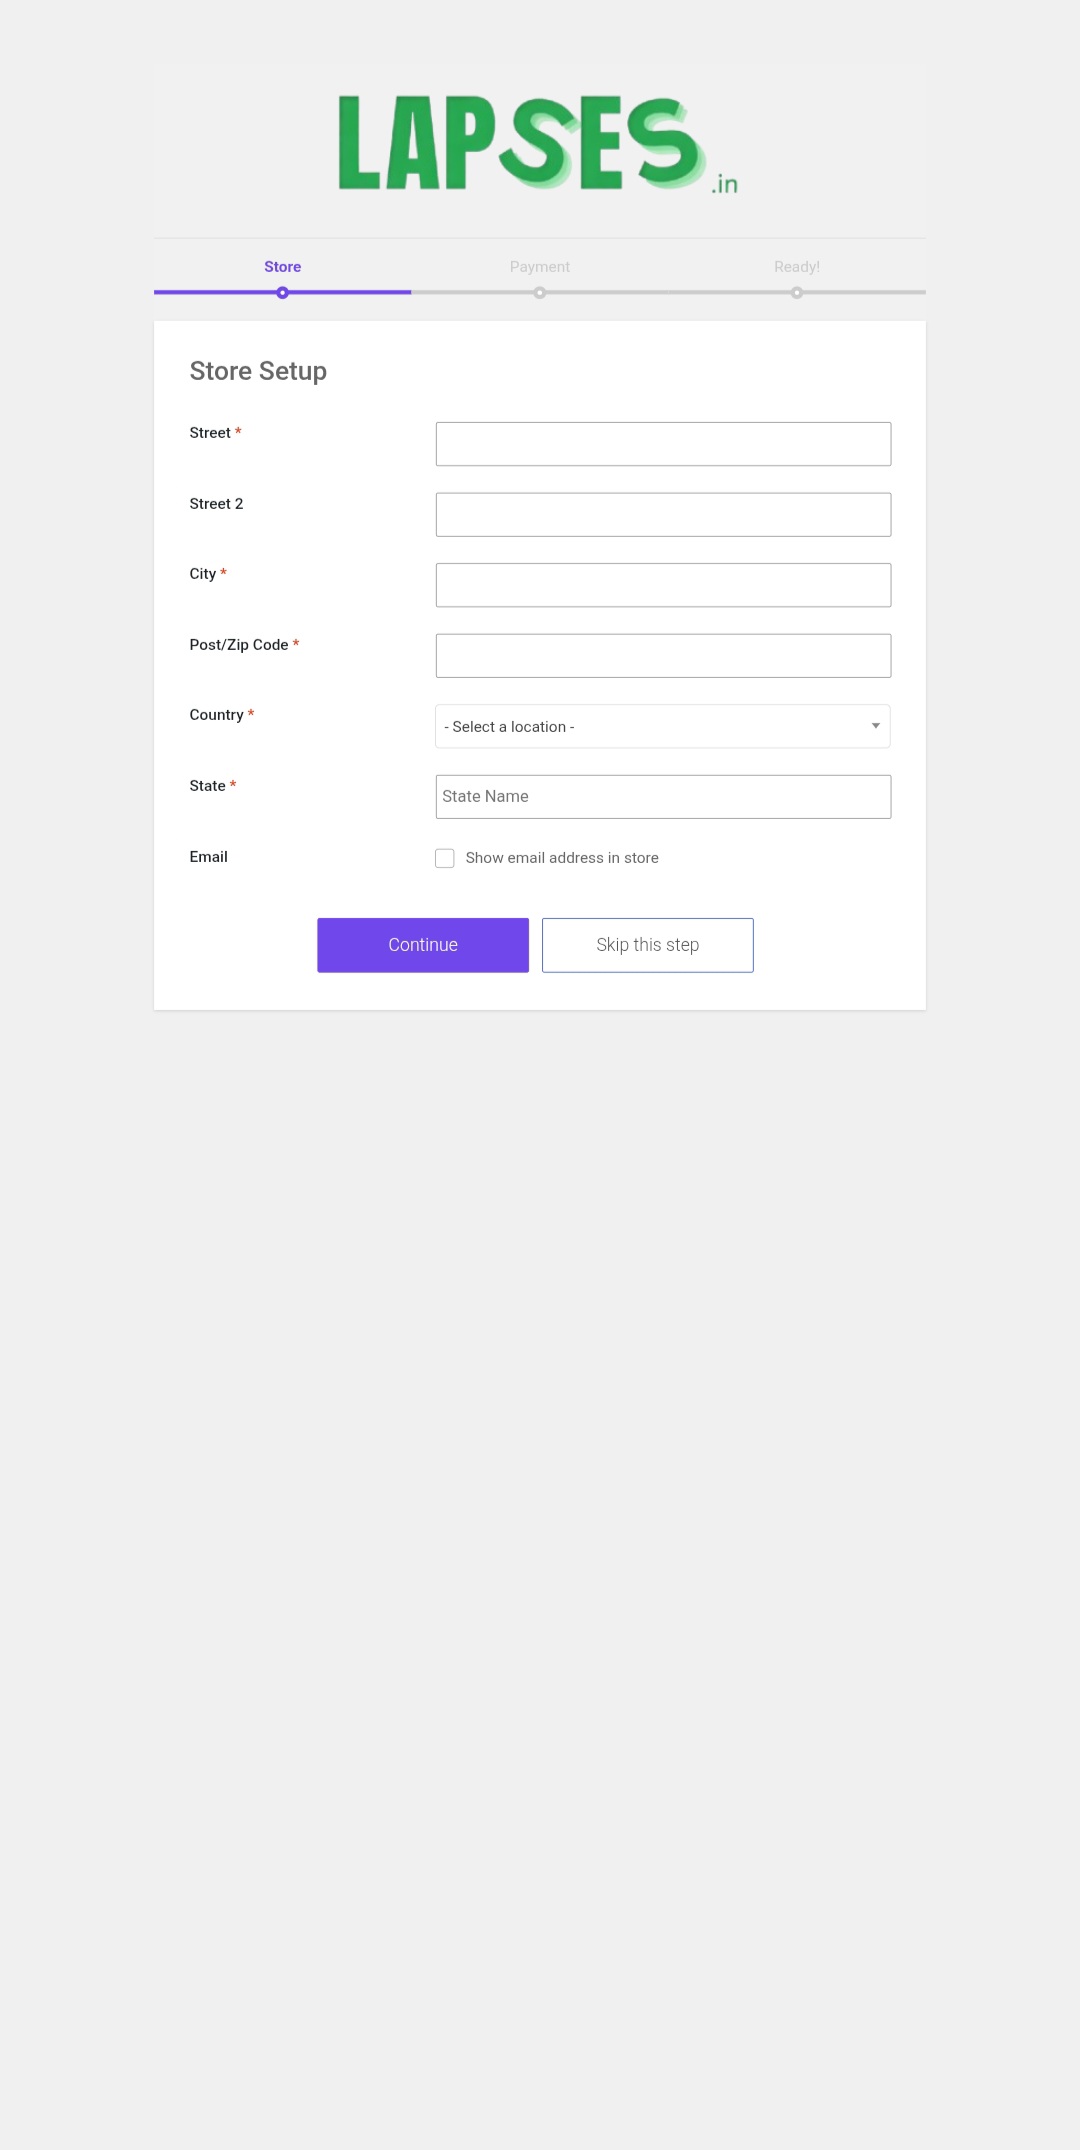
In this section, provide your business address so customers and buyers know where you are operating from:
• 🏠 Street & Address Lines: Input your physical shop or business address.
• 🏙️ City & Post/Zip Code: Enter your city and postal code.
• 🌍 Country & State: Select your region and state from the dropdown menus.
• ✉️ Show Email: Check the option if you wish to display your email address publicly on your storefront.
Click Continue to save your address.
💳 Step 4: Configure Payment & Payout Options
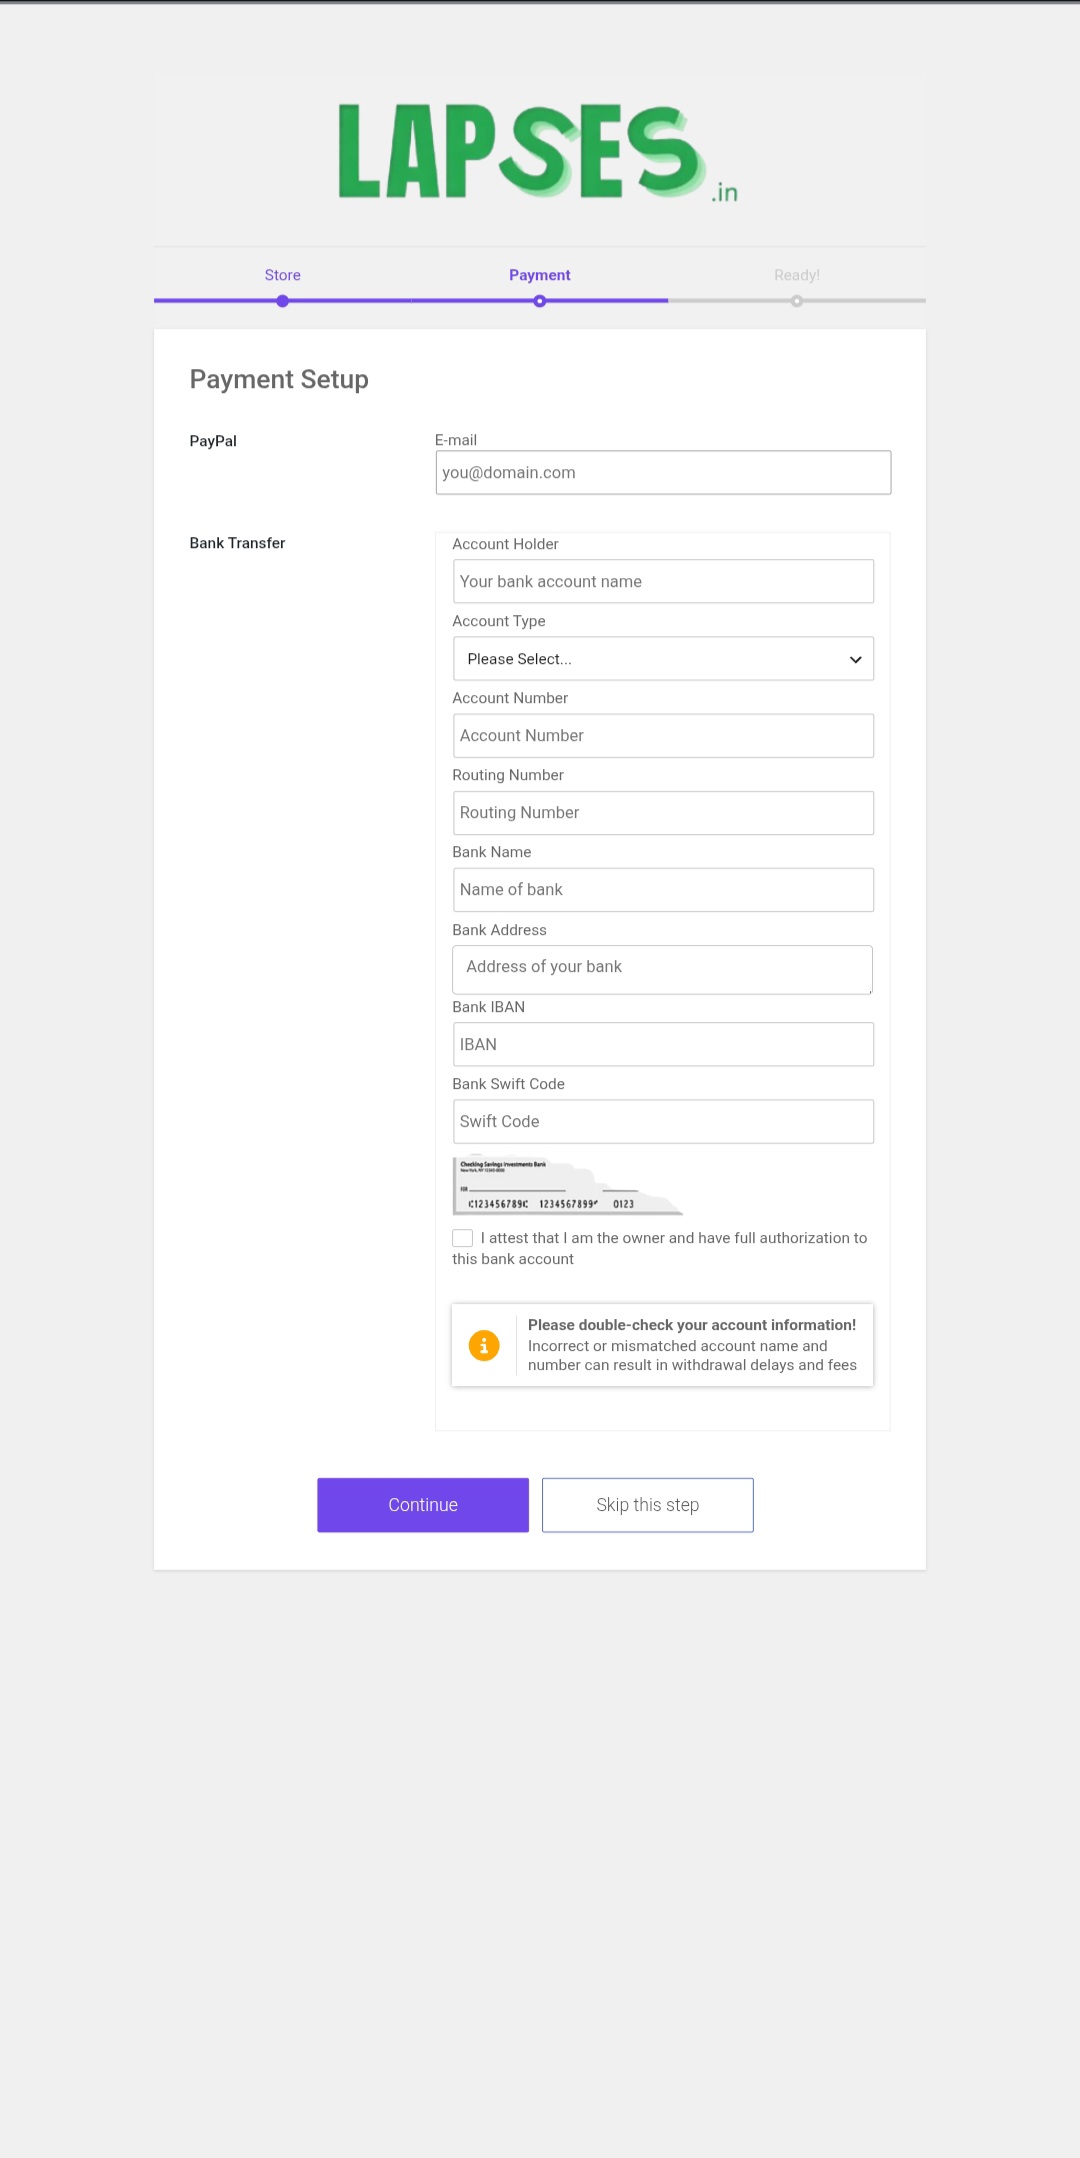
To receive earnings directly into your bank account, fill out your payout details carefully:
• 🌐 PayPal: Enter your registered PayPal email (if applicable).
• 🏦 Bank Transfer Details:
◦ Account Holder Name
◦ Account Type (Savings/Current)
◦ Account Number & Routing Number
◦ Bank Name & Address
◦ Bank IBAN & SWIFT Code (if required)
• ✅ Attestation: Check the box confirming you hold ownership of the specified bank account.
⚠️ Important: Double-check all bank information before proceeding. Incorrect account numbers or names can result in withdrawal delays or transfer fees!
Click Continue to finalize your payment configuration.
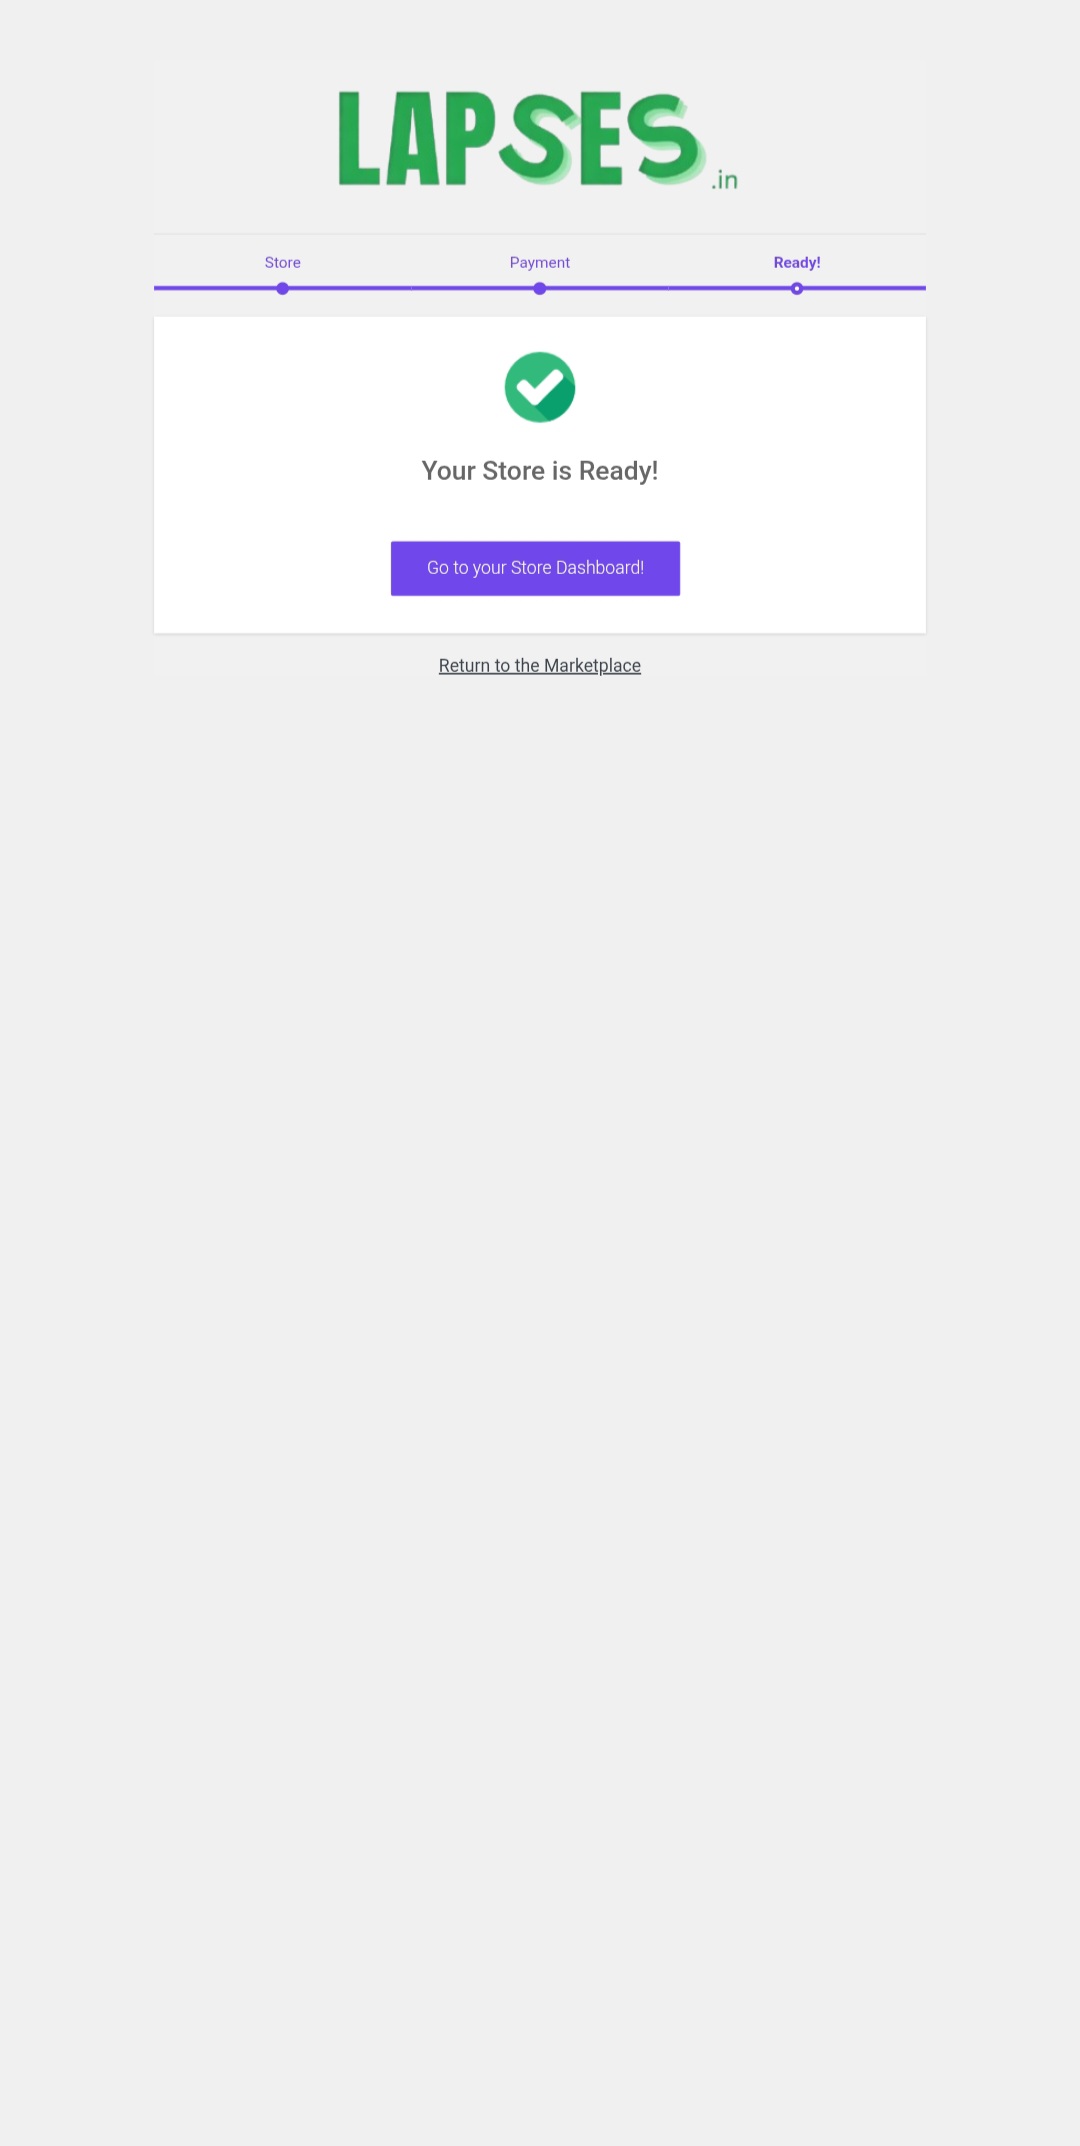
🎉 Step 5: Your Store is Ready!
Congratulations! Your vendor store configuration is complete.
Click Go to your Store Dashboard! to start adding products, managing inventory, and tracking sales in real-time.
Need Further Assistance?
If you run into any issues during the onboarding process, reach out to our vendor support team or visit the Help Center at Lapses.in. Happy selling! 📈📦
 No products in the cart.